Fundamental Introduction to Git

Piotr Szpetkowski

23 January 2017, 8 min read

thumbnail post

What's inside

  1. Configuration of GIT CLI
  2. Three files’ spaces
  3. Files management in Git
  4. Four states of file
  5. Ignoring files
  6. Preview of file changes
  7. History check
  8. Shortly about branches
  9. Remote work

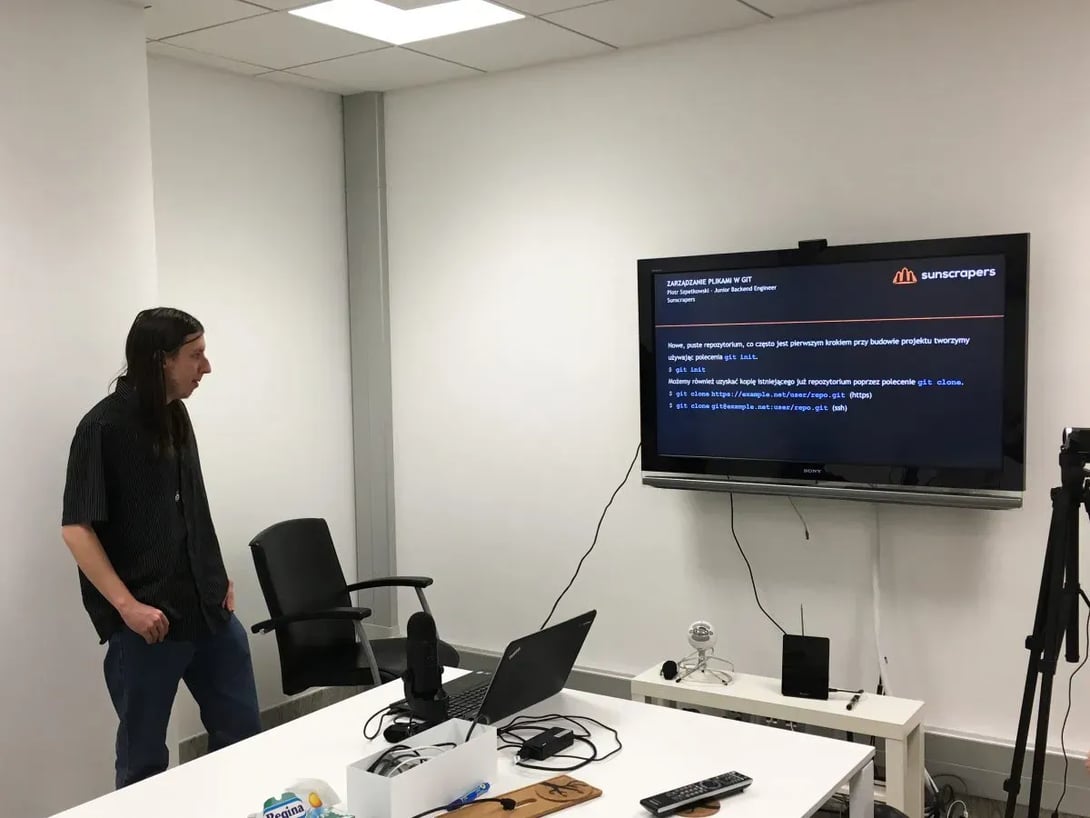
This presentation is a brief introduction to Git distributed version control system (DVCS). We will start from configuring the Git CLI and then we discuss how Git works and what are its frequently used features.Git is called Distributed Version Control System, which means that in contrast to the Centralized Version Control Systems (CVCS), each user receives a complete copy of the repository. Every customer can also, if necessary, act as a server, and if the server has a breakdown, it is possible to restore it without any problems, using the client’s copy. The good side effect of such architecture is that the majority of operations in Git is based on local resources. This way, operations are made faster and are not dependent on the server, from which we obtained a repository. This also allows us to work without an active connection to network - offline.

Configuration of GIT CLI

GUI tools to handle Git, despite their friendly interface and ease of use, are useful only in simple cases and they are not always helping us to solve a problem - sometimes they may even hinder solving it. For this reason, you should be familiar with the CLI.

There is a very useful command if you don’t have an internet connection and you’ve forgotten something important: git help. It accepts Git’s command as a parameter, for example: git help init. When used without a parameter, it displays a list of the most frequently used Git commands.

The basic configuration of Git’s CLI consists of setting a few variables. The easiest way to do this is through git config command, which allows to both read and modify variables. Essentially git has three config ‘levels’ you can use - system, user and repository, but most of us stick to the user (global) configuration level.

It’s good to give at last your username (usually your name and surname) and e-mail address, to use Git properly:

$ git config --global user.name "John Doe"

$ git config --global user.email "john@example.net"

--global flag means that we use a global (user) configuration file.

Three files’ spaces

In Git there are three areas where files can be found at a given moment:

  1. Working directory - a place of work where we make changes to files
  2. Staging area - files which changes have been accepted and which are ready to add to be committed into repository
  3. Git directory - the place where Git stores the metadata of the project and files that have been accepted to the repository (committed)

Usually the workflow in the Git’s ecosystem looks like this:

  • adding / modifying / removing files,
  • confirming desired changes to the staging area,
  • (optional) performing more operations on files,
  • after making sure that all desired changes are in staging, committing them to the repository with an adequate description of modifications.

Files management in Git

We can create a new, empty repository (which is often the first step when starting a new project) using git init command.

$ git init

We can also get a copy of an existing repository via git clone command.

$ git clone https://example.net/user/repo.git (using https protocol)

$ git clone git@example.net:user/repo.git (using ssh protocol)

One of the basic commands is git status, which is used to check the files’ status.

Example:

$ git status

On branch master nothing to commit, working tree clean

With git add command, we can add a file or files to staging.

$ git add README.md - adds README.md file to staging

$ git add. - adds all files in the current directory to staging

$ git add * .py - adds all files with the extension .py to staging

$ git add -A- adds all files from the working directory to staging

To delete a particular file or files from staging, we can use the command

$ git rm --cached .

$ git add README.md

$ git rm --cached README.md

rm README.md

If we skip --cached flag, then file is also deleted from the working directory.

We can delete all files from the staging using:

$ git rm -r --cached .

Four states of file

At any given time, each file may be in one of four states:

  • Untracked - file exists only in the working directory
  • Unmodified - file is in the repository and is the same as one in the repository version
  • Modified - file is in the repository and has been modified in the working directory
  • Staged - file has been added to the staging area and is awaiting approval to the repository

Ignoring files

Sometimes we don’t want Git to add some files to the repository (e.g. for security reasons). We can create a file .gitignore that contains a list of filenames’ patterns and directories we wish to ignore.

$ cat .gitignore

# python

__pycache __

* .py [Cod]

Preview of file changes

You can use the git diff if you need to check what changes have occurred in files in the workspace. It takes an optional parameter --cached to compare with staging. Keep in mind that git diff doesn’t compare untracked files.

$ echo "test"> README.md

$ git add README.md

$ git diff --cached

+++ B / README.md

@@ @@ -0,0 +1

+ test123

Approving changes

Changes set out in staging may be committed to the repository by git commit, which requires determining a description of changes - commit message. We can select a text editor, which Git will use through the environment variable $EDITOR. You can also override the default value before executing the command:

$ EDITOR=vim git commit

git commit also allows to enter the commit message as a parameter to the command:

$ git commit -m "Add README.md"

It is also possible to completely omit the staging step by using a shortcut:

$ git commit -a -m "Add README.md"

Note that the parameter -a takes into account only those files that are already tracked.

We can also overwrite the last commit to correct it or add more changes by using --amend flag:

$ git commit -m "Add README.md"

$ git add README.md --amend

$ git commit -m "Add README.md"

Undoing changes

You can also undo the staged changes by using the git checkout command if you have modified a file, which is already being tracked by Git in the working directory.

$ git checkout -- README.md

If in doubt, git status reminds the syntax if it detects changes.

(Use git checkout -- ... to discard changes in working directory)

History check

With at least one commit, we can see the history of the repository through git log.

$ git log

commit 900d87e0d958ad186d9266e1e469d7e23ab8bbf9

author: John Doe <john@example.net>

date: Thu Dec 8 2016 0100 4:39:31 p.m.

Add README.md

Shortly about branches

Branch in Git repository is a separated part with its own commits history.

To see a list of branches in the repository, we can use the git branch command.

$ git branch

* master

An asterisk next to the branch name means that it is currently active.

To create a new branch we use the same command with the name of the branch as a parameter.

$ git branch example-branch

We can switch between different branches using git checkout.

$ git checkout example-branch

Switched to a new branch 'example-branch'

It is also possible to use a shortcut to create a new branch and immediately activate it.

$ git checkout -b unicorn-branch

Switched to a new branch 'unicorn-branch'

To copy changes from one branch to the other, we can use merge or rebase command. The most obvious difference between them is that merge creates merge commit every time except when fast forward is being used. It may add some unwanted noise into the branch. That’s why in case of a need to copy changes from master to other branch it’s a good idea to use git rebase.

$ git merge example-branch

$ git rebase unicorn-branch

To remove unnecessary branches use a git branch command again.

$ git branch -d example-branch

Deleted branch example-branch (you 900d87e).

If the branch has not passed through merge or rebase we can still remove it.

$ git branch -D some-branch

>Deleted branch example-branch (you e873b87).

Remote work

Using git remote command we can see currently configured servers. Additional -v parameter displays URL assigned to the shortcut.

$ git remote -v

origin git@example.net: user/repo.git (fetch)

origin git@example.net: user/repo.git (push)

If we want to send our commits to the world and we have created a repository using git init command, we have to add remote repositories.

$ git remote add origin git@example.net:user/repo.git (ssh)

We can also give remote repositories different shortcuts (not only origin)

$ git remote add backup git@example.net:user / repo.git (ssh)

Finally, to send your changes to the remote repository use git push command.

$ git push origin master

To download other people’s changes or changes on other device we use git pull.

$ git pull

To be continued…

Piotr Szpetkowski

Tags

git
python

Share

Recent posts

See all blog posts

Are you ready for your next project?

Whether you need a full product, consulting, tech investment or an extended team, our experts will help you find the best solutions.

Hi there, we use cookies to provide you with an amazing experience on our site. If you continue without changing the settings, we’ll assume that you’re happy to receive all cookies on Sunscrapers website. You can change your cookie settings at any time.